While creating ReactJS apps, you probably don’t have to think too much about how to deploy them. ReactJS applications can be easily bundled in a folder, consisting of plain HTML, CSS and Javascript files. That should be simple enough to upload it to a S3 Bucket, host it on Github Pages or even integrating great services like Netlify or Zeit for fast and automated deployments.
But this week, I had the task of deploying a React app created with create-react-app on a VPS under a subdomain. I didn’t want to use stone-age FTP, I wanted to have an automated docker container with my app where I could deploy anywhere without much configuration.
I created a demo app with all the configurations detailed on this post. The code is available here
Preparing our Dockerfile
We start out by creating a Dockerfile on our project root folder with the
following content:
1# This image won't be shipped with our final container2# we only use it to compile our app.3FROM node:12.2.0-alpine as build4ENV PATH /app/node_modules/.bin:$PATH5WORKDIR /app6COPY . /app7RUN npm install8RUN npm run build9 10# production image using nginx and including our11# compiled app only. This is called multi-stage builds12FROM nginx:1.16.0-alpine13COPY --from=build /app/build /usr/share/nginx/html14RUN rm /etc/nginx/conf.d/default.conf15COPY nginx/nginx.conf /etc/nginx/conf.d16EXPOSE 8017CMD ["nginx", "-g", "daemon off;"]On the snippet of code above, we are using a feature called
multi-stage builds.
It requires Docker 17.05 or higher, but the benefit of this feature is enormous,
which I will explain next. On the first half of the script, we are building a
Docker image based on node:12.2.0-alpine which is a very tiny linux image with
node included. Now notice the as build at the end of the first line. This
creates an intermediary image with our dependencies that can be thrown away
after build. Soon after that, we install all the dependencies from my React app
with npm install and later we execute npm run build to compile the React app
optimized for production.
On the second half of the code, we create a new Docker image based on
nginx:1.16.0-alpine which is also a tiny linux including
nginx, a high performance web server to serve our
React app. We use the command COPY to extract the content from our previous
image called build and copy it into /usr/share/nginx/html. Next, we remove
the default nginx configuration file and add our custom configuration under
nginx/nginx.conf with the following content:
1# To support react-router, we must configure nginx2# to route the user to the index.html file for all initial requests3# e.g. landing on /users/1 should render index.html4# then React takes care of mounting the correct routes5server {6 7 listen 80;8 9 location / {10 root /usr/share/nginx/html;11 index index.html index.htm;12 try_files $uri $uri/ /index.html;13 }14 15 error_page 500 502 503 504 /50x.html;16 17 location = /50x.html {18 root /usr/share/nginx/html;19 }20 21}This configuration is very important for apps using
React Router.
Whenever you share a link to your React app, lets say, a link to
/users/1/profile, this link tells the browser to request this path from the
web server. If the web server is not configured properly, our React app won’t be
able to render the initial index.html file containing our React
application.
Using our custom configuration, we tell nginx to route all requests to the root
folder /usr/share/nginx/html which is the directory we previously copied our
React app during image build. We should not forget that React apps are Single
Page Applications, which means that there is only one page to be rendered on the
first request, the rest of the job is taken care by React on the browser.
Building our Docker Image
We already have all the required code to build our Docker image. Lets execute the Docker command to build it:
1# Make sure to be on the same folder of your React app2# replace 'my-react-app' with whatever name you find appropriate3# this is the image tag you will push to your Docker registry4docker build -t my-react-app .When the image is built, lets check the size of the image we just generated with the following command:
1# List all the images on your machine2docker images3# You should see something like this:4REPOSITORY TAG IMAGE ID CREATED SIZE5my-react-app latest c35c322d4c37 20 seconds ago 22.5MBAlright, our Docker image is ready to go on to a Docker Registry somewhere. One interesting thing about this image is that the size is only 22.5MB. This is really great for deployment because small images make automated pipelines run much faster during download, image building and upload.
Running our React app with docker-compose
What we need now is a way to run this Docker image. For testing it locally, lets
create a file called docker-compose.yml with the following content:
1version: "3.7"2 3services:4 my_react_app:5 build:6 context: .7 ports:8 - "8000:80"Docker Compose will take care of building
the image in case it doesn’t exist and also bind the port 8000 from our local
machine to the port 80 on the container. Now open your browser on
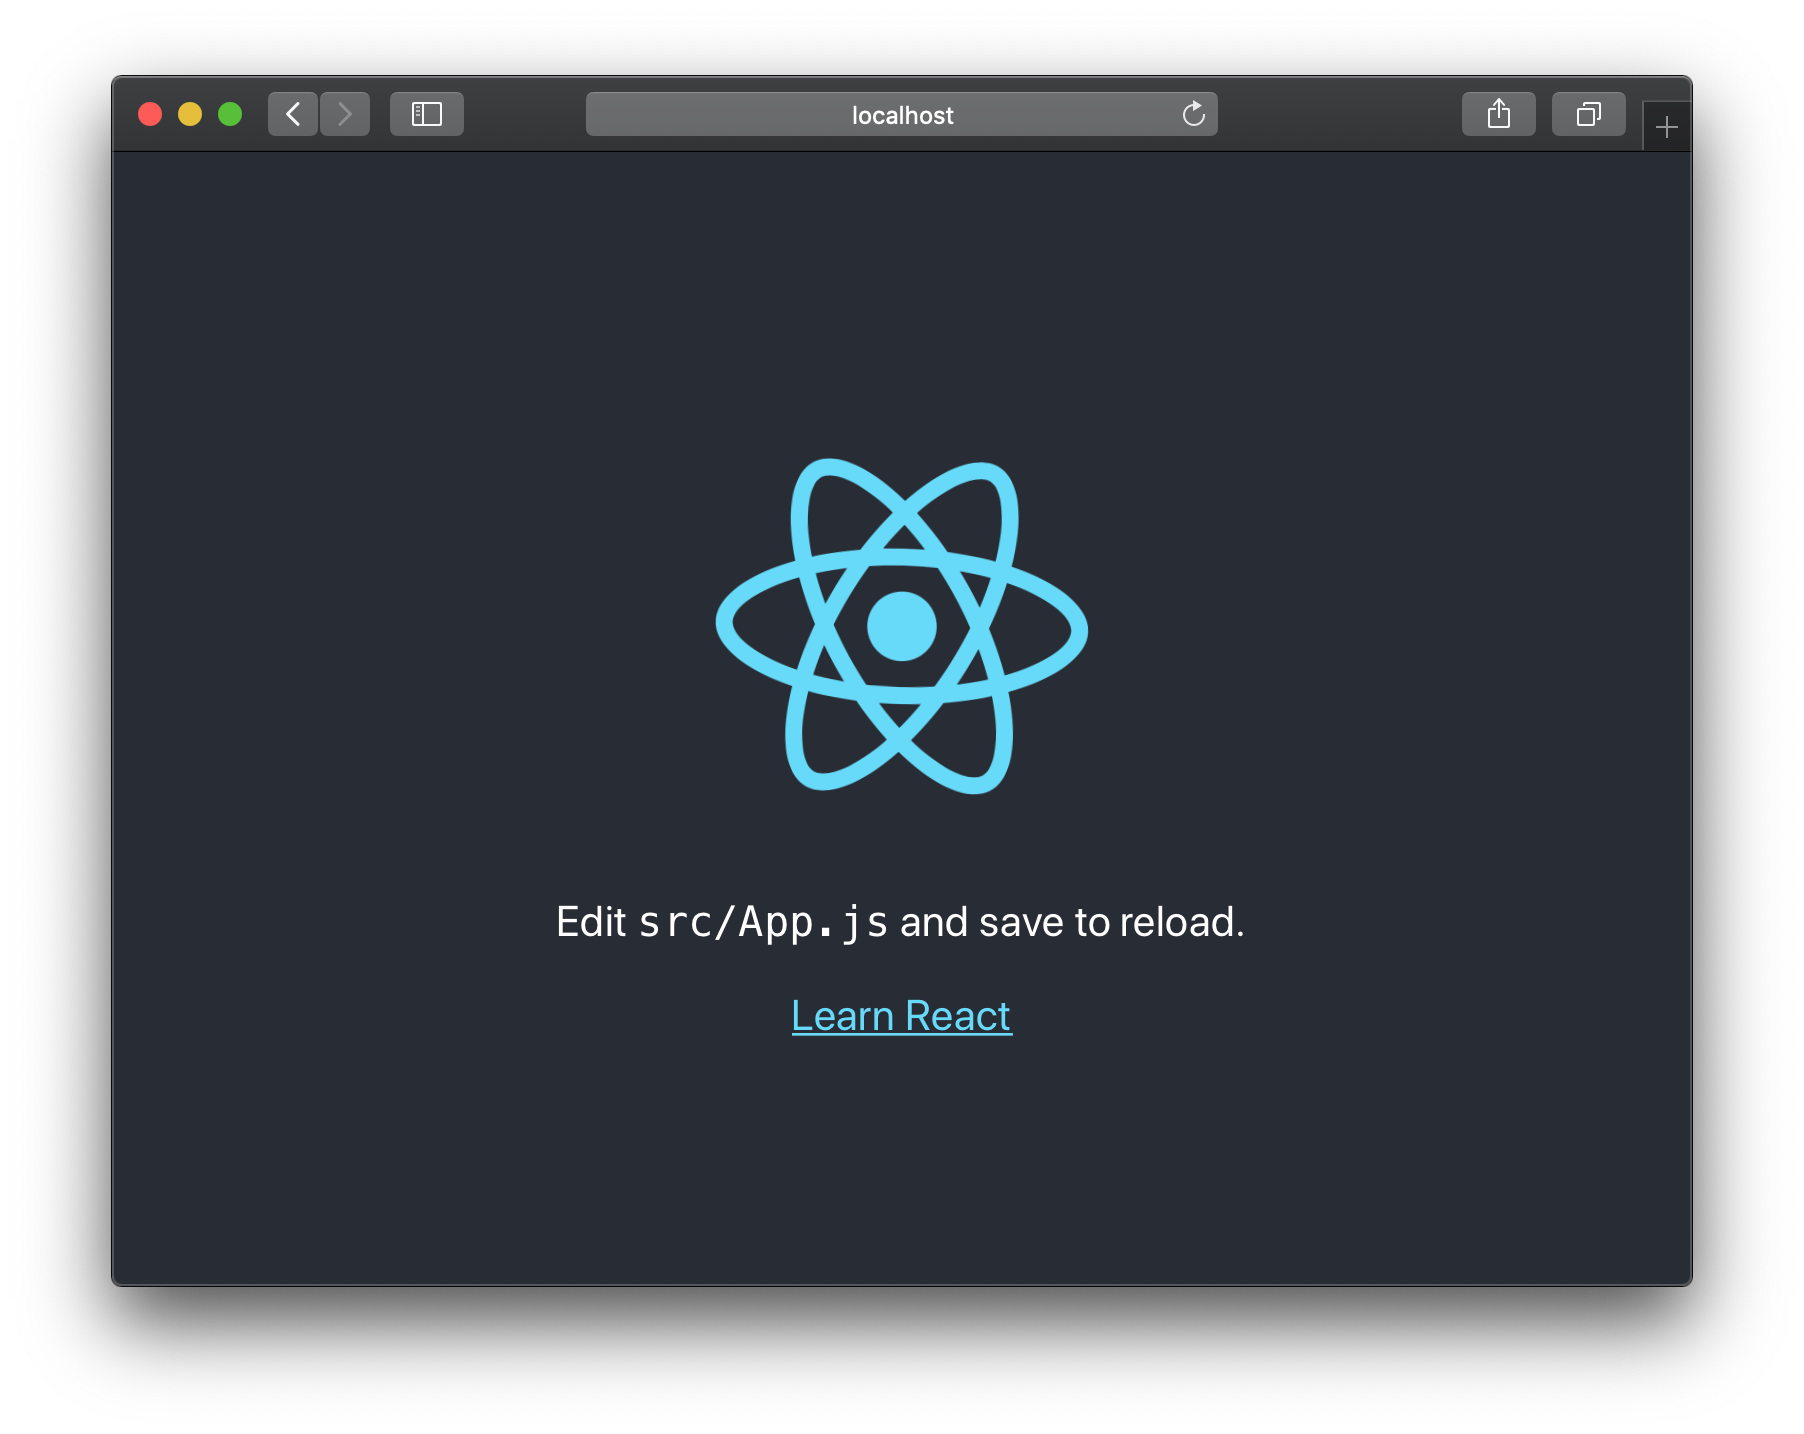
localhost:8000 and check if our React app is running there. You should see
something like this:
Conclusion
Running a React app with Docker might not be the best deployment, but if you need to run docker like in my case, it can be very simple and effective. This opens the door for a lot of automation pipelines you can hook up on the project like Github Actions or Gitlab CI/CD to automate your deployment process. You can find the code of this post here.